Making or Recovering Outdoor Throw Pillows
Several years ago, we bought an outdoor furniture set that came with throw pillows. They were nice pillows covered in Sunbrella fabric, but we left them outside year-round. After a few years, the fabric began to fade and they were in need of new covers. Rather than purchase new (expensive) pillows, I purchased new outdoor fabric and made new covers.
Materials Needed
- Outdoor fabric (At least 1 print for pillows and at least 1 solid if making your own piping)
- Weather-proof pillow inserts – 18” x 18” is standard size (not needed if re-using existing pillows)
- Rip-stop nylon fabric (if re-using pillow inserts)
- 9/32” cording for piping or purchased weather-proof piping
- Standard zipper 4 inches shorter than the width of the pillow form
- Zipper foot for sewing machine
Replacing Inner Pillow Form Cover
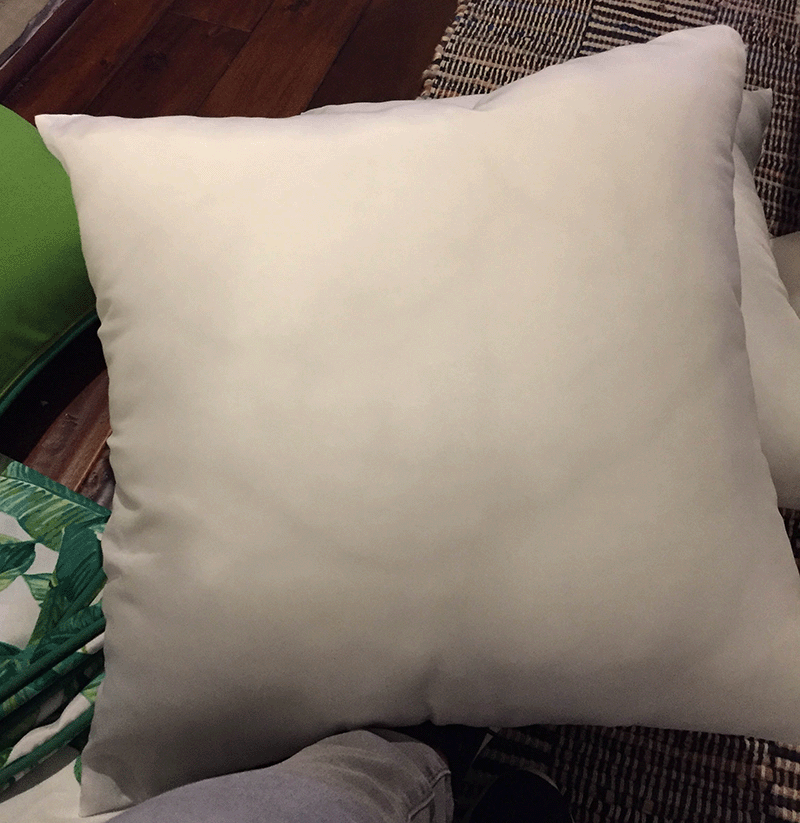
Remove existing covers from outdoor throw pillow. I found when I opened my existing pillows, that the inner cover (the cover of the pillow forms) had disintegrated. To fix this:
- Purchase white ripstop fabric (3/4 yards per pillow should be plenty for 18” square pillows)
- Using a ruler and marker or pins, mark and cut 2 pieces of fabric 1” larger than the dimensions of the pillow form (for example, for a 18” x 18” pillow form, cut 19” x 19” squares of fabric)
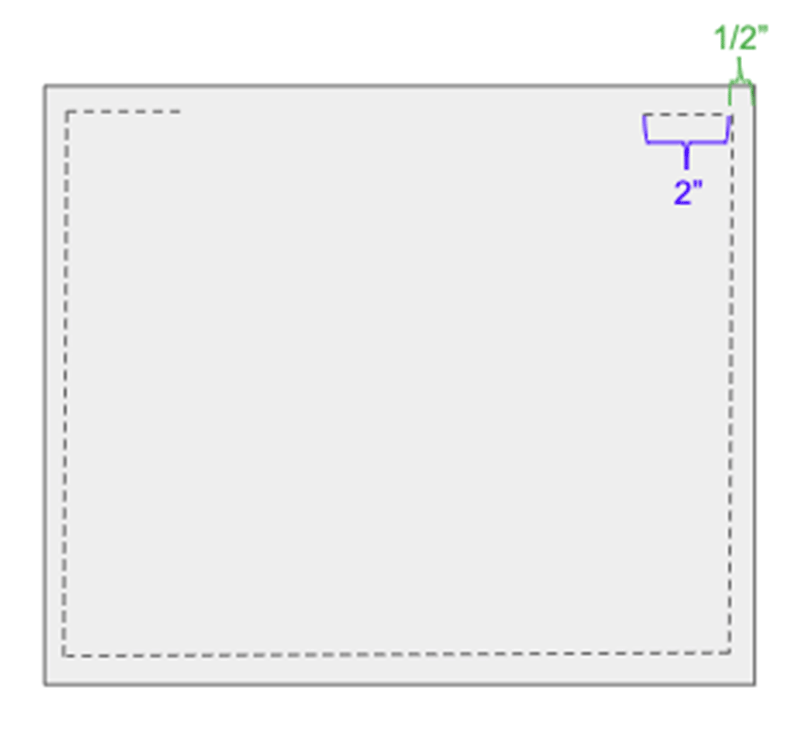
- Right sides together, sew the two pieces together with a ½” seam, matching straight edges; Begin sewing 2” before the corner of one side, sew around the other 3 sides, and end by sewing 2” in on the opposite corner of the first side
- Turn cover so right side is on the outside
- Remove existing pillow form cover and dispose of
- Insert pillow form material and hand-sew opening
Make Piping
- Calculate the amount of piping needed using this formula:
- Measure around edge of pillow form +4”
- So, for an 18” square pillow, you would need 18” + 18” + 18” + 18” + 4” = 76” of piping
- Using solid color outdoor fabric, cut bias strips
- One of the best tutorials I’ve found for this is here, so I will share instead of attempting to write a new one.
- Cut bias strips to fit the size of cording you will use. To determine the correct width, cut a sample piece of scrap fabric and wrap it around a piece of your cording. Mark ½ “ from the edge of the cording on each side. The measure between the two marks is width for your bias strips (should be between 1 ¾” and 2”).
- Wrapping bias strip around cording and matching raw edges, use a zipper foot or edge foot to baste a seam as close as possible to the cording.
Cut and True-Up Fabric
- For each outdoor throw pillow, cut 2 pieces of fabric 1” bigger than the dimensions of the pillow form.
- Example – if the pillow form you will be using is 18” square, you will cut a 19” square piece of fabric (to allow a ½” seam allowance on each side.)
- To assure that you are cutting on the straight grain (this is important to produce a professional-looking product) , it’s best to tear, rather than cut, the pillow pieces; This is simple to do – just make a small cut at the edge of the fabric, and rip a straight line.
- If fabric won’t tear (often outdoor fabric is so tightly woven that it is impossible to tear), make a clip at the edge of the fabric and pull a thread, then use the line created to cut the fabric
- Press torn edge, if needed
- Using this torn side as your first cut side, use a ruler to cut and measure a square of fabric (19” each side for an 18” pillow form). Cut 2 of these for each pillow.
Apply Piping
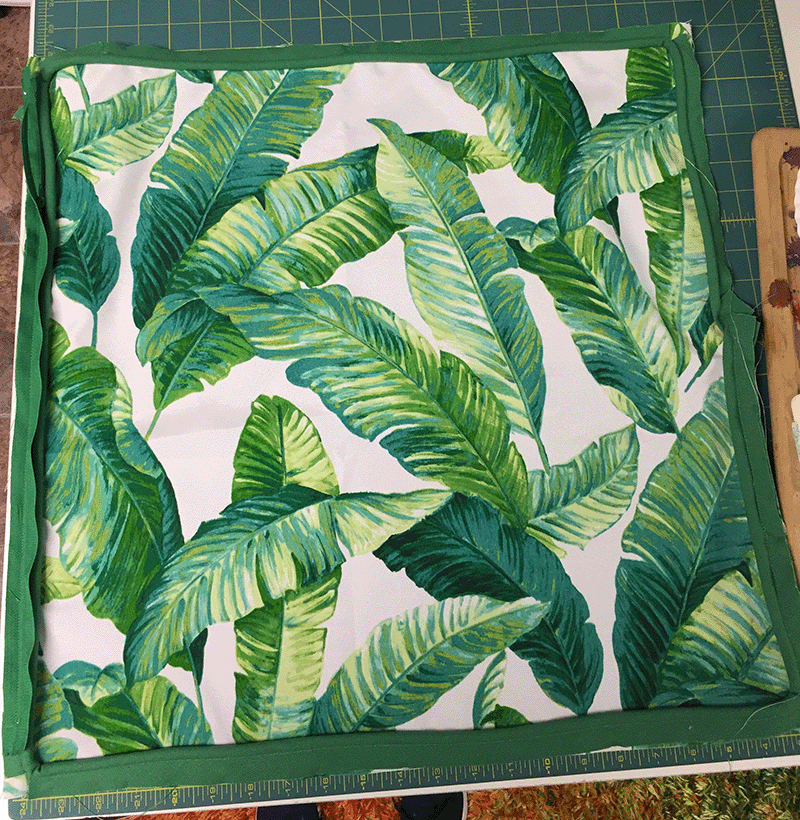
- On one of your fabric squares, pin piping to all four sides on the right side of the fabric, matching the raw edge of the piping fabric to the edge of the pillow fabric.
- At corners, clip piping from the edge of the piping fabric to the stitching line. This will allow the piping to bend around the corner, and will make for a nicer finish.
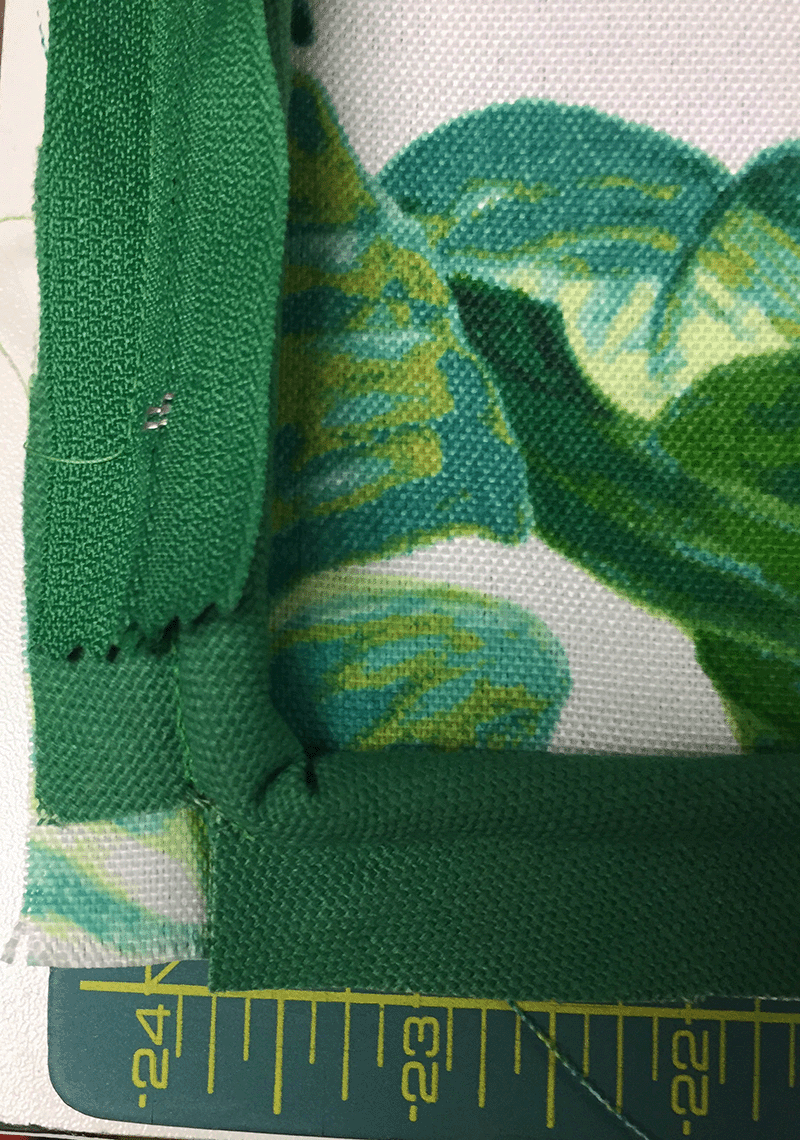
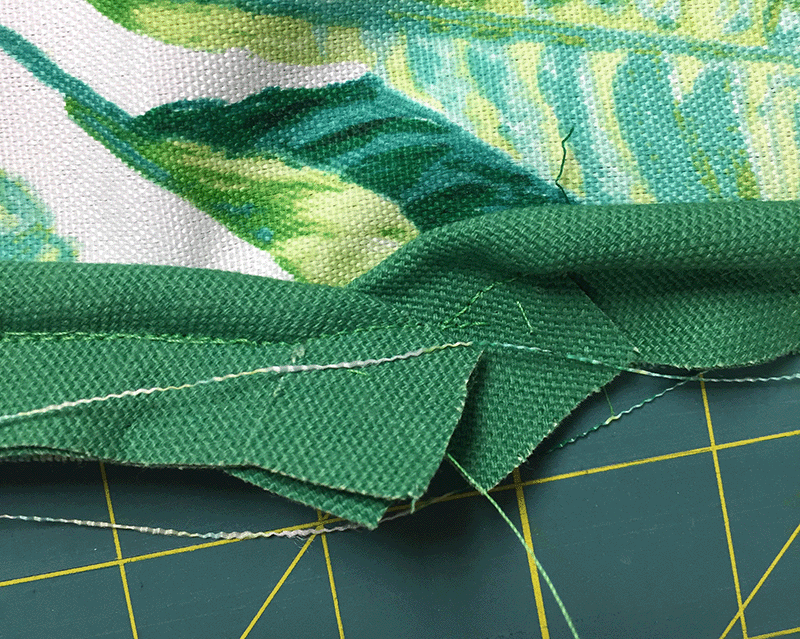
- In the spot where the beginning of your piping meets the end of your piping, (preferably in the middle of a pillow side), overlap the piping ends at ½” from the edge of the pillow fabric, with the end pointing down into the seam allowance. Remove the cording from the two ends up to the point where the ends overlap, to remove the bulk and make it possible to sew through the layers.
- Sew piping to fabric as pinned.
Shorten Zipper (if needed)
- Zipper should be at least 4 inches shorter than the pillow side where it will be inserted. (14” or less for the example here.) If zipper is longer than this, shorten the zipper:
- At the desired new end of the zipper, make a sewn stopper by sewing multiple wide zigzag stitches across the zipper teeth (being careful not to sew through the teeth).

Insert Zipper
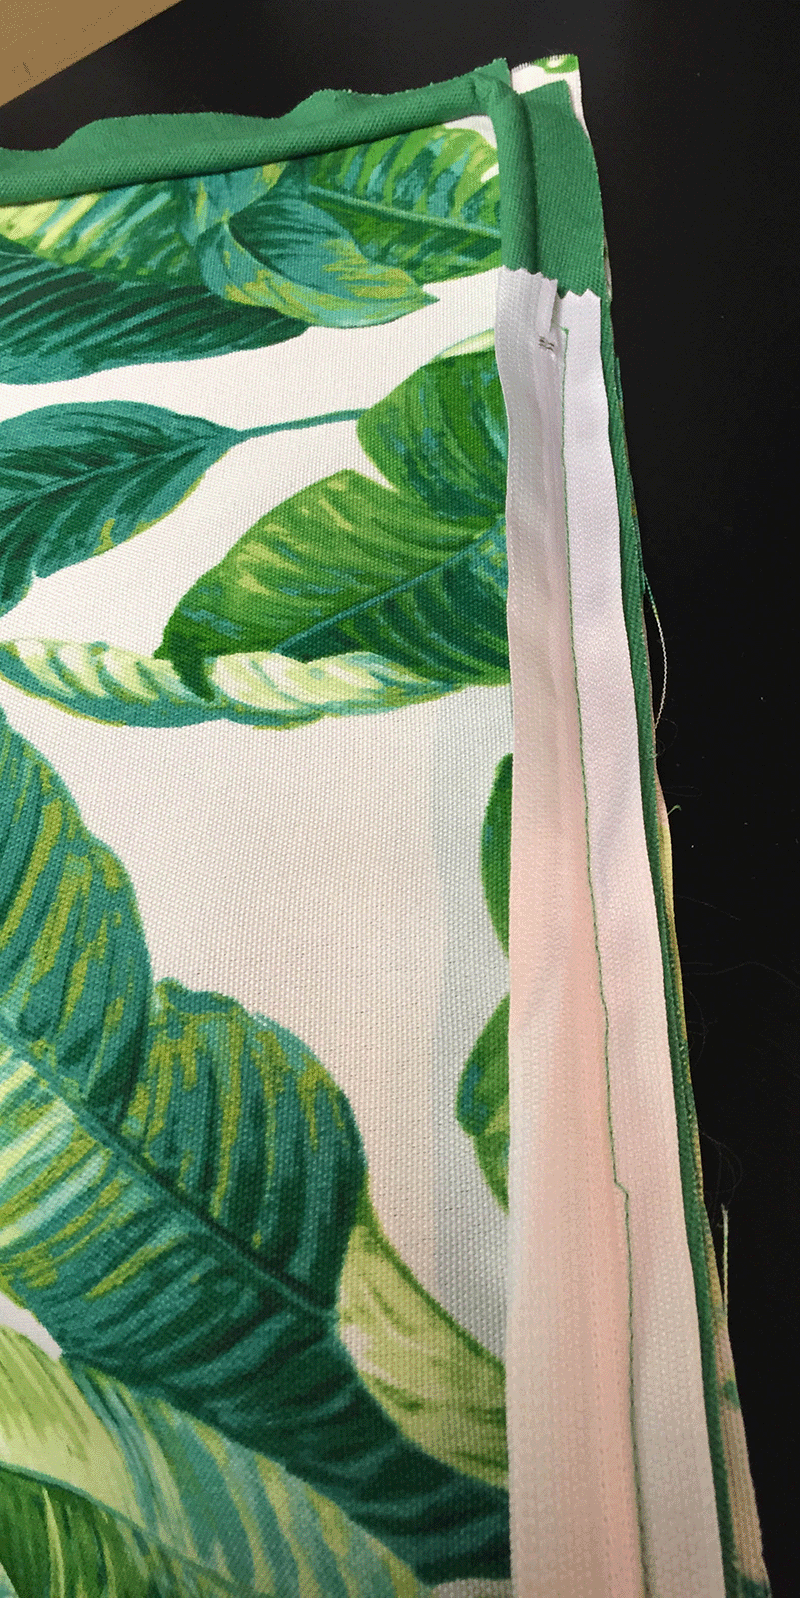
- Lining up the edge of the zipper with the edge of the outdoor throw pillow fabric (and the edge of the piping), place the zipper in the middle of the pillow side (should be 2” from either end of the side). Sew the zipper to one side of the pillow, on top of the piping, with the right side of the zipper teeth facing towards the pillow fabric.
- Sew with the zipper closed until you get too close to the zipper pull to continue sewing in a straight line. Then stop with the needle down and sewing foot up, and reach under and unzip the zipper, pulling the zipper pull past your stopping point. Continue sewing to the end of the zipper.
- With right sides together, lay the other pillow piece over the one you’ve been working with, matching edges
- Pin the two pieces of fabric together at the 2 corners on each side of the zipper.
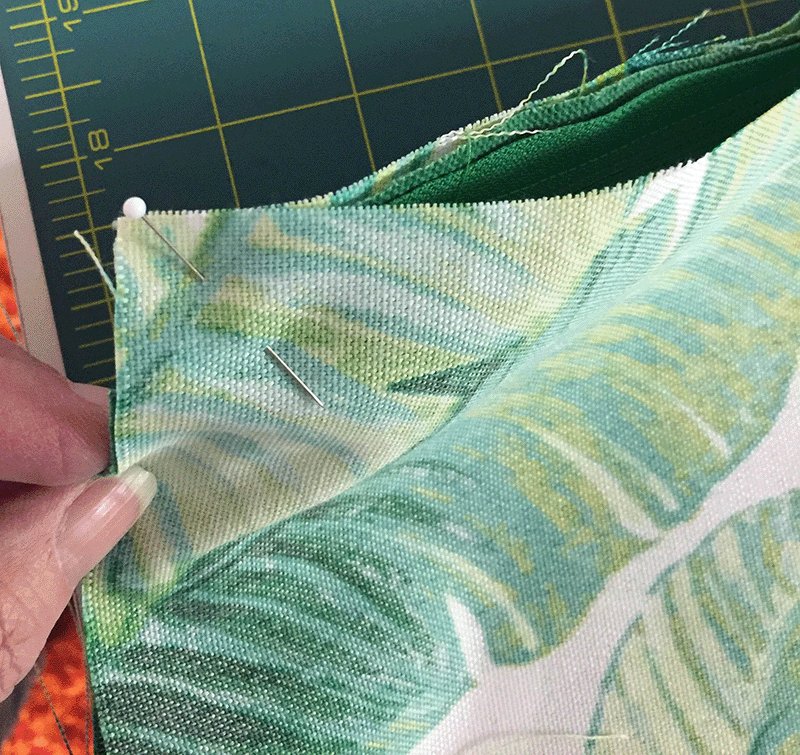
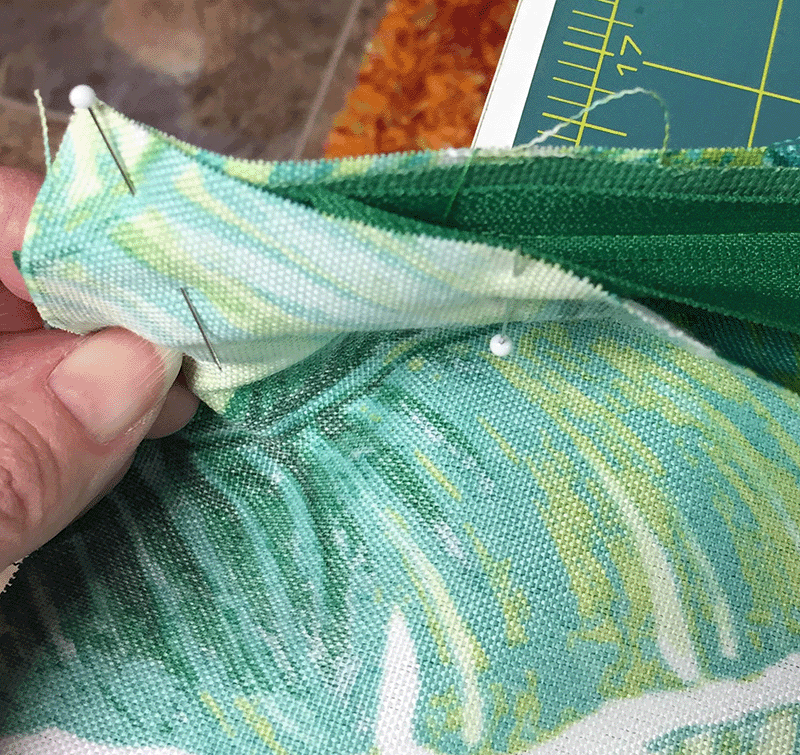
- Fold the zipper so the right side of the teeth face the right side of the top layer of fabric.
- Matching edges, pin the loose side of the zipper to the top pillow piece.
- Un-pin the 2 pillow corners and sew the zipper tape to the fabric as pinned, with the needle as close as possible to the teeth of the zipper.


- With the right sides together, pin the top pillow piece to the bottom pillow piece, matching edges. Unzip the zipper at least half-way to allow for turning the pillow when stitching is complete.
- Begin stitching at one end of the zipper seam, and end at the other end of the zipper seam, overlapping the zipper seams with the new stitching by about ½ inch at each end. To assure that piping is correctly positioned in the new seam, stitch this seam along the existing stitching that was used to attach the piping in the first step.
Complete Construction
- With the right sides together, pin the top pillow piece to the bottom pillow piece, matching edges. Unzip the zipper at least half-way to allow for turning the pillow when stitching is complete.
- Begin stitching at one end of the zipper seam, and end at the other end of the zipper seam, overlapping the zipper seams with the new stitching by about ½ inch at each end. To assure that piping is correctly positioned in the new seam, stitch this seam along the existing stitching that was used to attach the piping in the first step.
- Turn pillow to right side through open zipper.
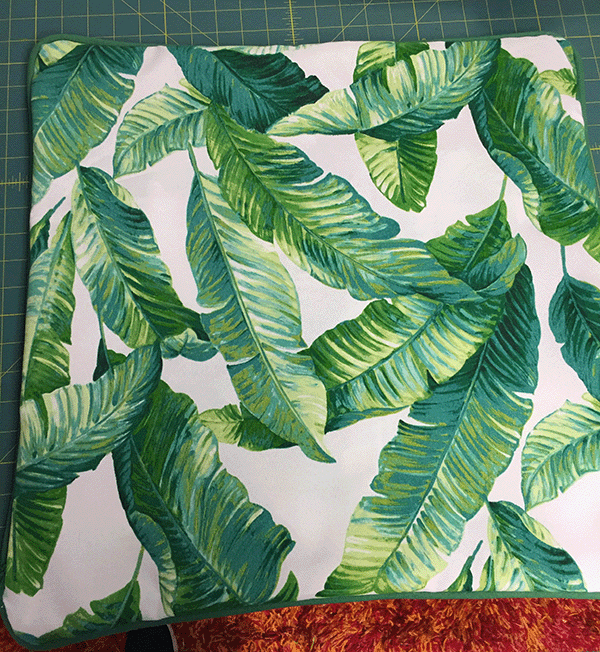

- Insert pillow form into cover, and close zipper.

