Making Piped Throw Pillows
I have tackled making many different types of throw pillows, but one of the most intimidating (at first glance) is the piped throw pillow. With some simple math, making a throw pillow with piped edges is really not that hard. I documented my process in the hope it will make this less intimidating for others. If you’re not quite sure you prefer piped edges, check out my other blog post here.
Materials Needed
- Home Dec or other sturdy fabric – At least 1 print for pillows (anchor print and madras patchwork used in examples shown) and at least 1 solid if making your own piping
-
- 2 ¼ yards of 54” (or wider) print fabric for 2 18” x 18” pillows
- 1 ½ yards of 54” (or wider) solid fabric for piping (should be enough for piping for 4 18” pillows)
- Pillow inserts – 18” x 18” is standard size (not needed if re-covering existing pillows)
- 9/32” cording for piping
- Standard zipper 4 inches shorter than the width of the pillow form (Can shorten longer zipper if already have on one hand)
- Zipper foot for sewing machine
Make piping for piped throw pillow
- Calculate the amount of piping needed using this formula:
- Measure around edge of pillow form +4”
- Example – For an 18” square pillow, you would need 18” + 18” + 18” + 18” + 4” = 76” of piping
- Using solid color fabric, cut bias strips
- One of the best tutorials I’ve found for this is here, so I will share instead of attempting to write a new one.
- Cut bias strips to fit the size of cording you will use. To determine the correct width, cut a sample piece of scrap fabric. Wrap it around a piece of your cording. Mark ½ “ from the edge of the cording on each side. The measure between the two marks is width for your bias strips. (Should measure between 1 ¾” and 2”.)
- Wrap the bias strip around the cording and match raw edges. Use a zipper foot or edge foot to baste a seam as close as possible to the cording.
Cut and true-up fabric
- For each piped throw pillow, cut 2 pieces of fabric 1” bigger than the dimensions of the pillow form.
-
- Example: If the pillow form you will be using is 18” square, you will cut a 19” square piece of fabric. (This allows a ½” seam allowance on each side.)
- To assure that you are “cutting” on the straight grain it’s best to tear, rather than cut, the pillow pieces. A straight grain is important to produce a professional-looking pillow. This is simple to do – just make a small cut at the edge of the fabric, and rip a straight line.
- If fabric won’t tear, make a clip at the edge of the fabric and pull a thread. Then use the line created to cut the fabric. This may be necessary when using outdoor fabric or patchwork fabric.
- Press torn edge, if needed.
- Using this torn side as your first cut side, use a ruler to masure and tear a square of fabric. Example: 19” each torn side for an 18” pillow form. Cut 2 of these for each pillow.
Apply piping
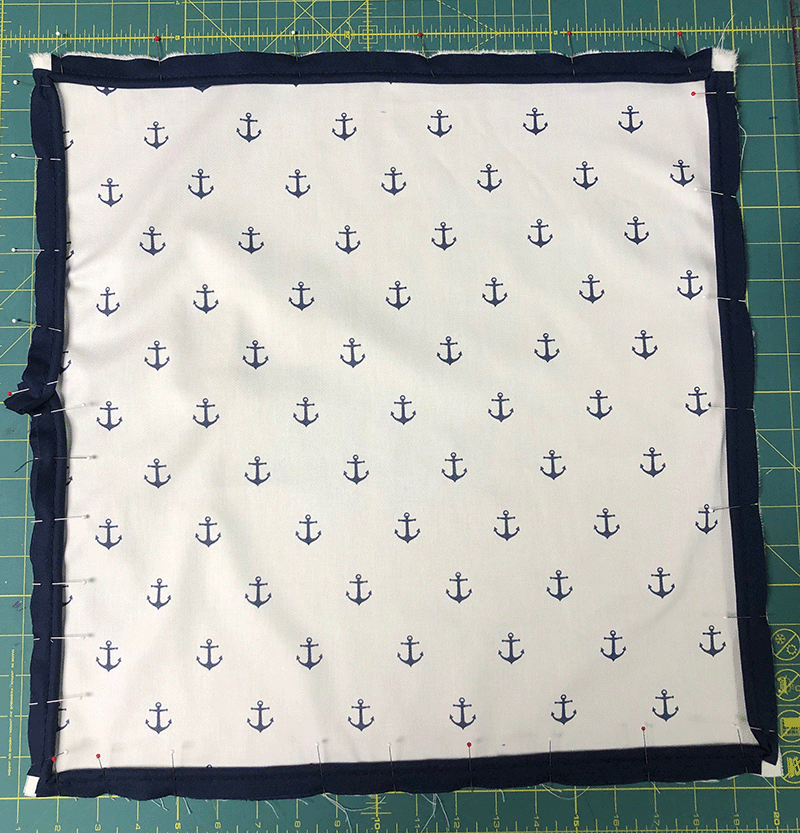
- On one of your fabric squares, pin piping to all four sides on the right side of the fabric. Match the raw edge of the piping fabric to the edge of the pillow fabric.
- At corners, clip piping from the edge of the piping fabric to the stitching line. This will allow the piping to bend around the corner. It will also make for a nicer finish.
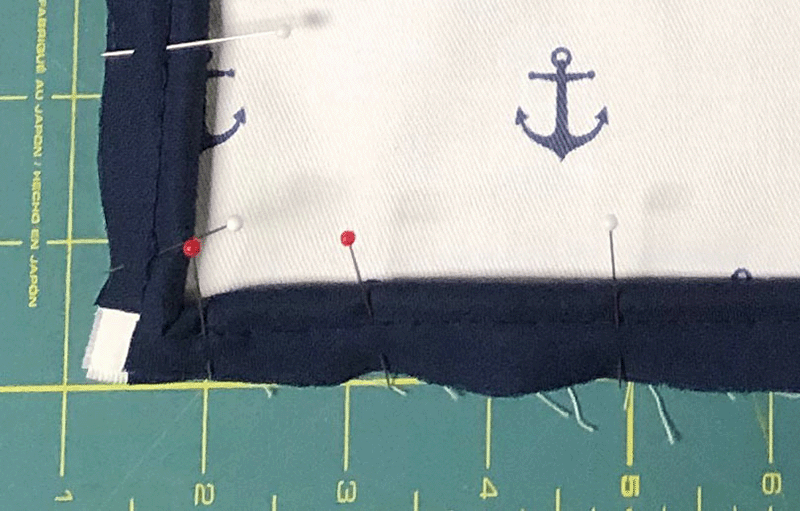

- Work at the spot where the beginning of your piping meets the end of your piping. This is preferably in the middle of a pillow side. Overlap the piping ends at ½” from the edge of the pillow fabric. Place the end of the piping pointing down into the seam allowance. Remove the cording from the two ends up to the point where the ends overlap. This removes the bulk and make it possible to sew through the layers.
- Sew piping to fabric as pinned.
Shorten Zipper (if needed)
Your zipper should be at least 4 inches shorter than the piped throw pillow side where it will be inserted. (14” or less for the example here.) If zipper is longer than this, shorten the zipper:
- At the desired new end of the zipper, make a sewn zipper stop. Do this by sewing multiple wide zigzag stitches across the zipper teeth. Be careful not to sew through the zipper teeth.

Insert Zipper
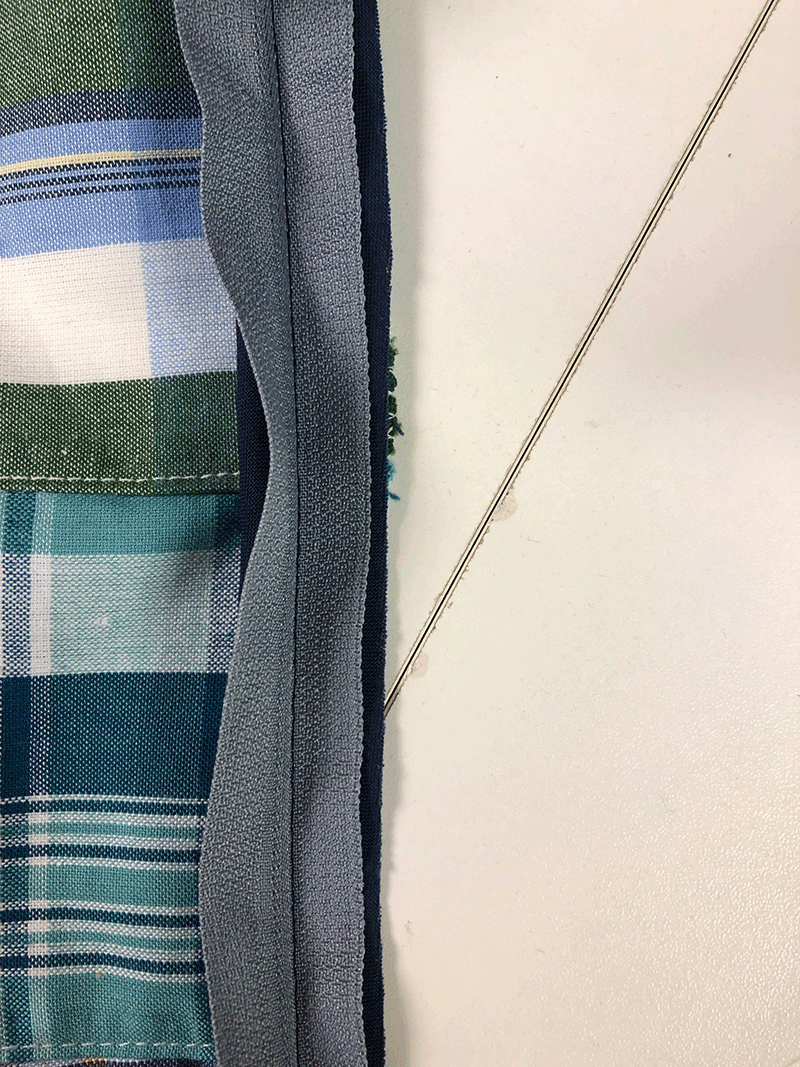
- Line up the edge of the zipper with the edge of the piped throw pillow fabric (and the edge of the piping). Place the zipper in the middle of the pillow side. The zipper should be 2” from either end of the side. Sew the zipper to one side of the pillow. Sew the zipper on top of the piping. The right side of the zipper teeth should face towards the pillow fabric.
- Sew with the zipper closed until you get too close to the zipper pull to continue sewing in a straight line. Then stop with the needle down and sewing foot up. Reach under and unzip the zipper, pulling the zipper pull past your stopping point. Continue sewing to the end of the zipper.
- With right sides together, lay the other pillow piece over the one you’ve been working with. Match the edges.
- Pin the two pieces of fabric together at the 2 corners on each side of the zipper.
- Fold the zipper so the right side of the teeth face the right side of the top layer of fabric.
- Matching edges, pin the loose side of the zipper to the top pillow piece.
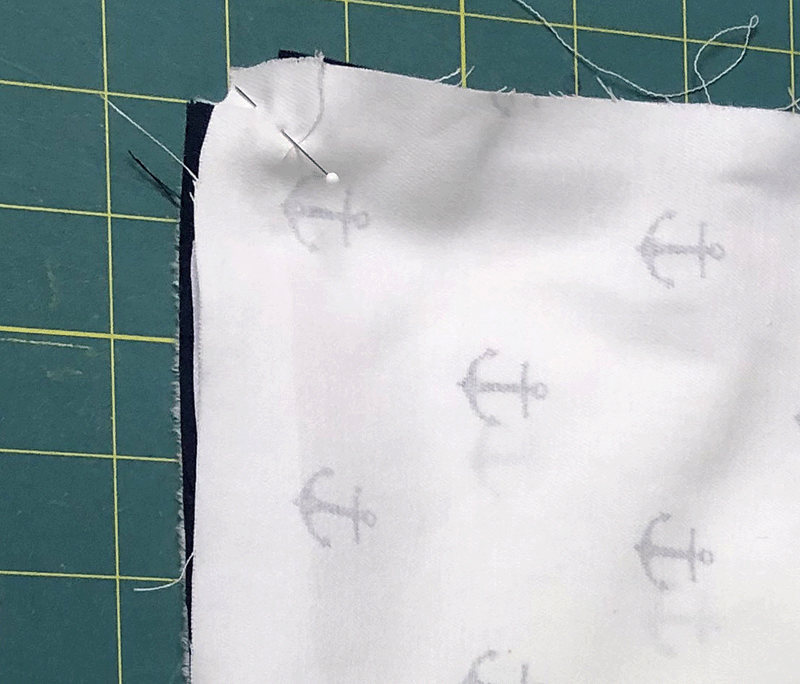
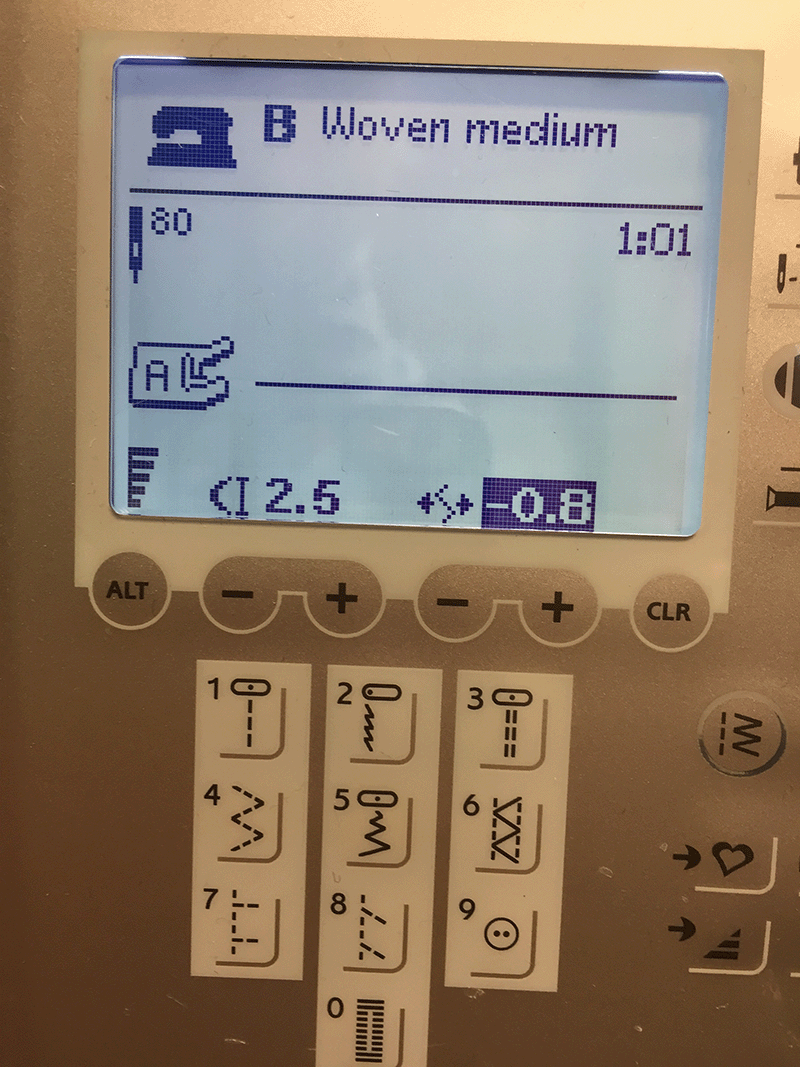
- Un-pin the 2 pillow corners and sew the zipper tape to the fabric as pinned. Sew with the needle as close as possible to the teeth of the zipper.
- (Image shows machine settings to achieve this on a Viking machine.)
Sew remaining sides
- With the right sides together, pin the top pillow piece to the bottom pillow piece, matching edges. Unzip the zipper at least half-way to allow for turning the pillow when stitching is complete.


- Begin stitching at one end of the zipper seam. Stitch around the non-zipper edges and end at the other end of the zipper seam. Overlap the zipper seams with the new stitching by about ½ inch at each end. To assure that piping is correctly positioned in the new seam, stitch this seam along the existing stitching that was used to attach the piping in the first step.
- Turn pillow to right side through open zipper.
- Insert pillow form into cover, and close zipper.
