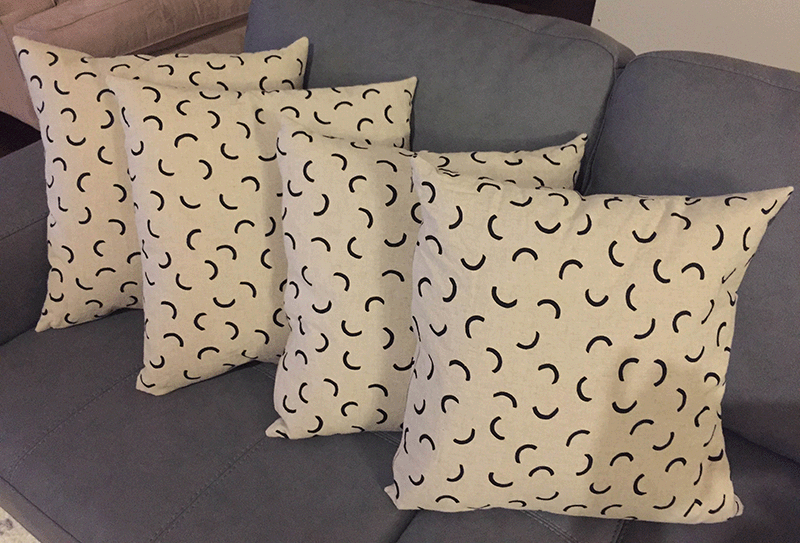
Making Simple Zippered throw pillowsThrow Pillows
Simple throw pillows can be very expensive to purchase. But they are ridiculously simple to make. Adding a zipper adds a bit more complexity, but is well worth the trouble. If you prefer pillows with piped edges, check out my blog post here.
Throw Pillow Materials Needed
- Home Decor or other medium to heavy fabric
- Pillow inserts – 18” x 18” is standard size
- Standard zipper 4 inches shorter than the width of the pillow form (can shorten longer zipper if needed)
- Zipper foot for sewing machine
Cut and True-Up Fabric
- For each throw pillow, cut 2 pieces of fabric 1” bigger than the dimensions of the pillow form.
- Example – if the pillow form you will be using is 18” square, you will cut a 19” square piece of fabric (to allow a ½” seam allowance on each side.)
- To assure that you are cutting on the straight grain (this is important to produce a professional-looking product) , it’s best to tear, rather than cut, the pillow pieces; This is simple to do – just make a small cut at the edge of the fabric, and rip a straight line.
- If fabric won’t tear (often outdoor fabric is so tightly woven that it is impossible to tear), make a clip at the edge of the fabric and pull a thread, then use the line created to cut the fabric
- Press torn edge, if needed
- Using this torn side as your first cut side, use a ruler to cut and measure a square of fabric (19” each side for an 18” pillow form). Cut 2 of these for each pillow.
Shorten Zipper (if needed)
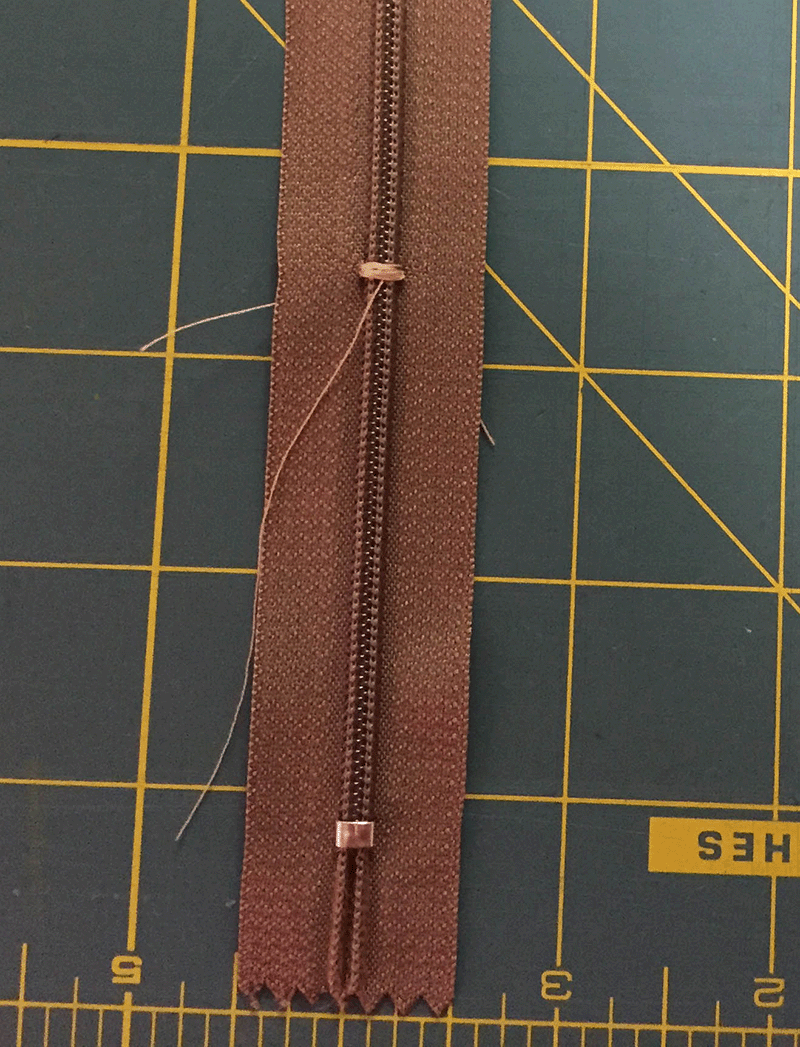
- Zipper should be at least 4 inches shorter than the pillow side where it will be inserted. (14” or less for the example here.) If zipper is longer than this, shorten the zipper:
- At the desired new end of the zipper, make a sewn stopper by sewing multiple wide zigzag stitches across the zipper teeth (being careful not to sew through the teeth).
Insert Zipper
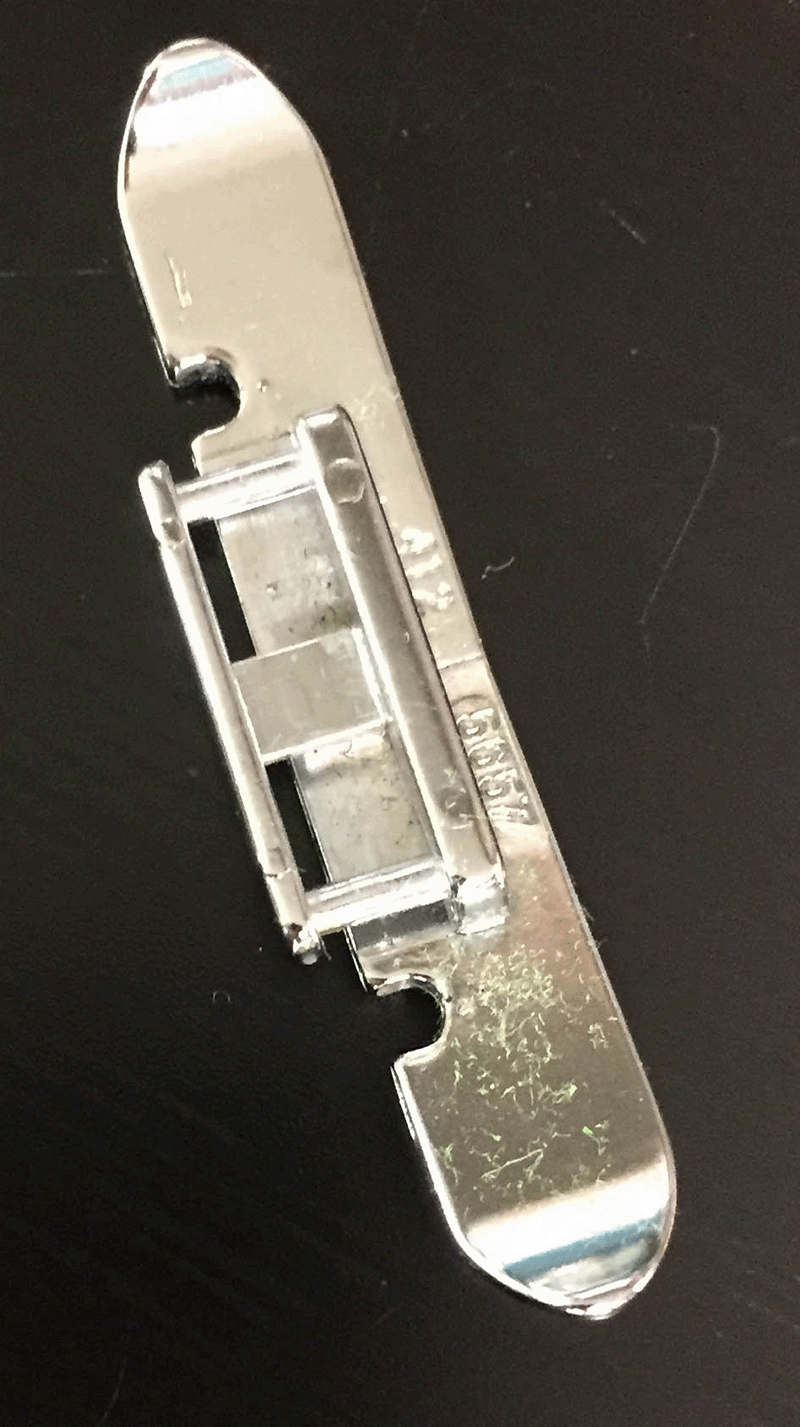
- User zipper foot for stitching
- Lining up the edge of the zipper with the edge of the throw pillow fabric, place the zipper in the middle of the pillow side (should be 2” from either end of the side). Sew the zipper to one side of the pillow, with the right side of the zipper teeth facing towards the pillow fabric.
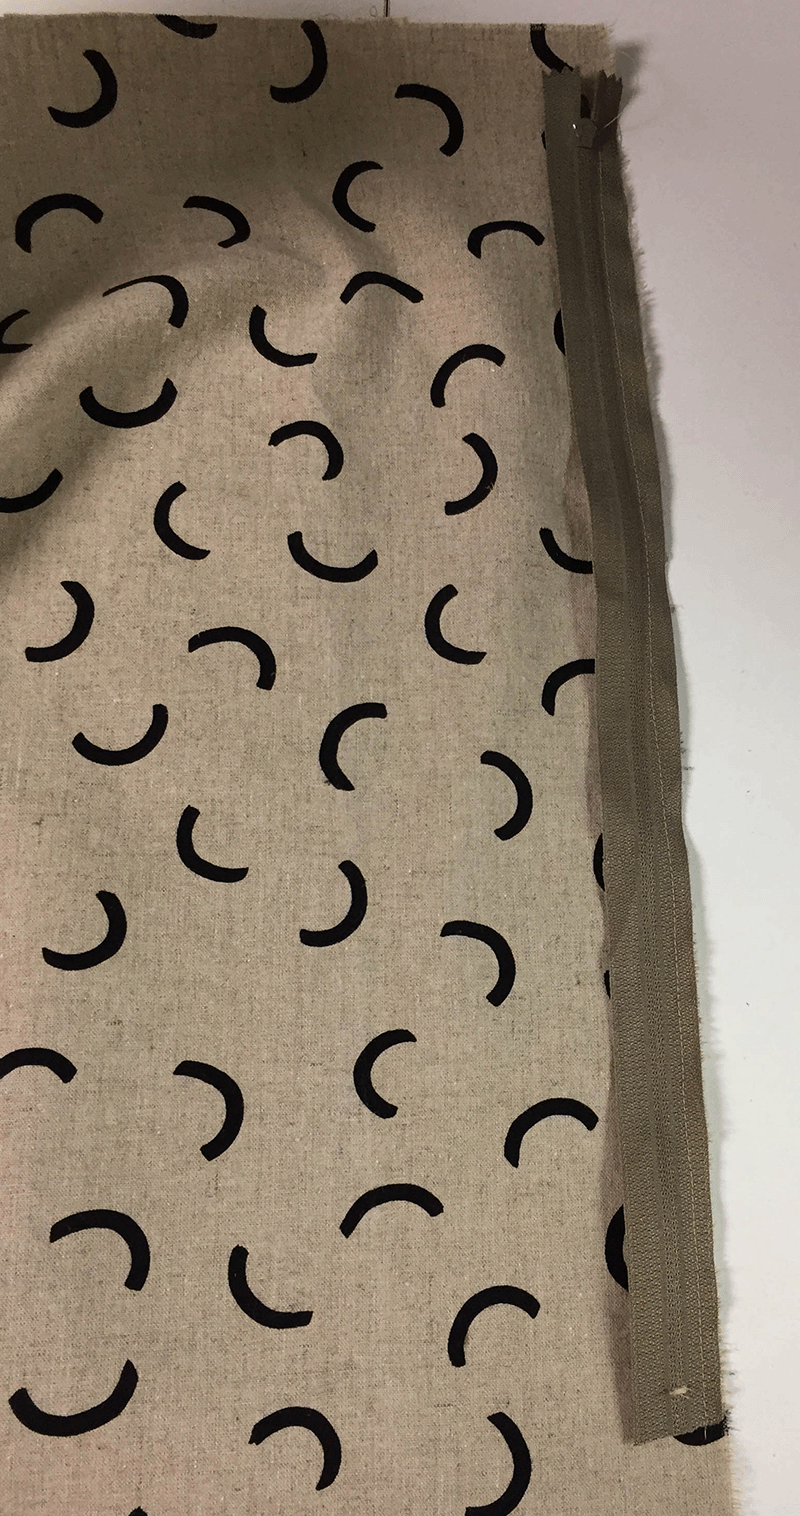

- Sew with the zipper closed until you get too close to the end to continue sewing. Then stop with the needle down and sewing foot up, and reach under and unzip the zipper. Continue sewing to the end of the zipper.
- With right sides together, lay the other pillow piece over the one you’ve been working with, matching edges
- Pin the two pieces of fabric together at the 2 corners on each side of the zipper.
- Fold zipper so teeth face right side of top layer of fabric.
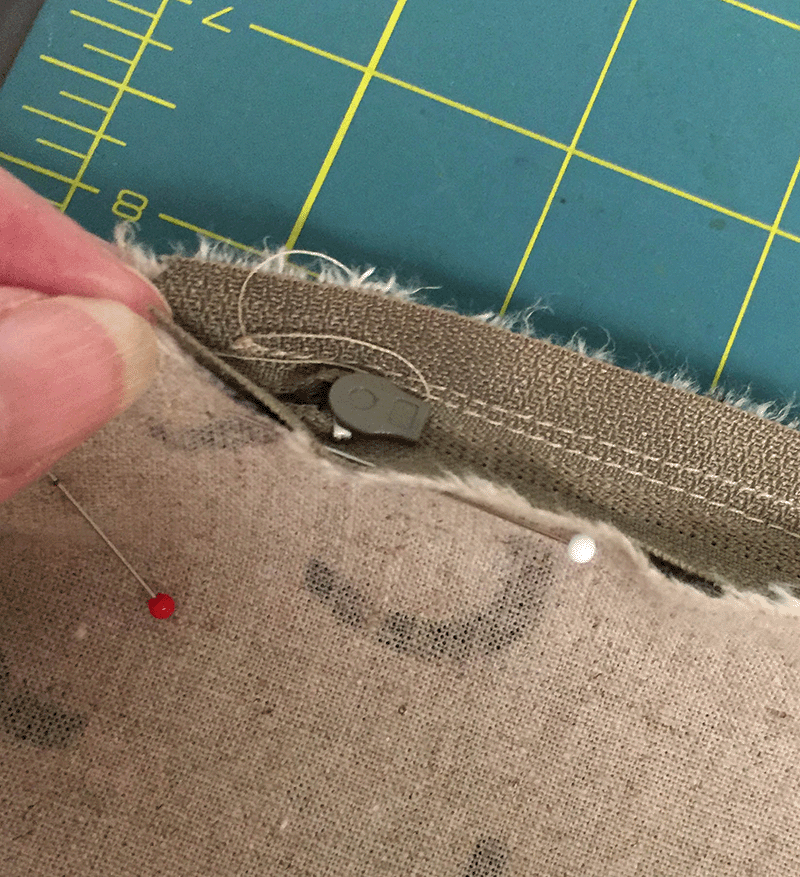
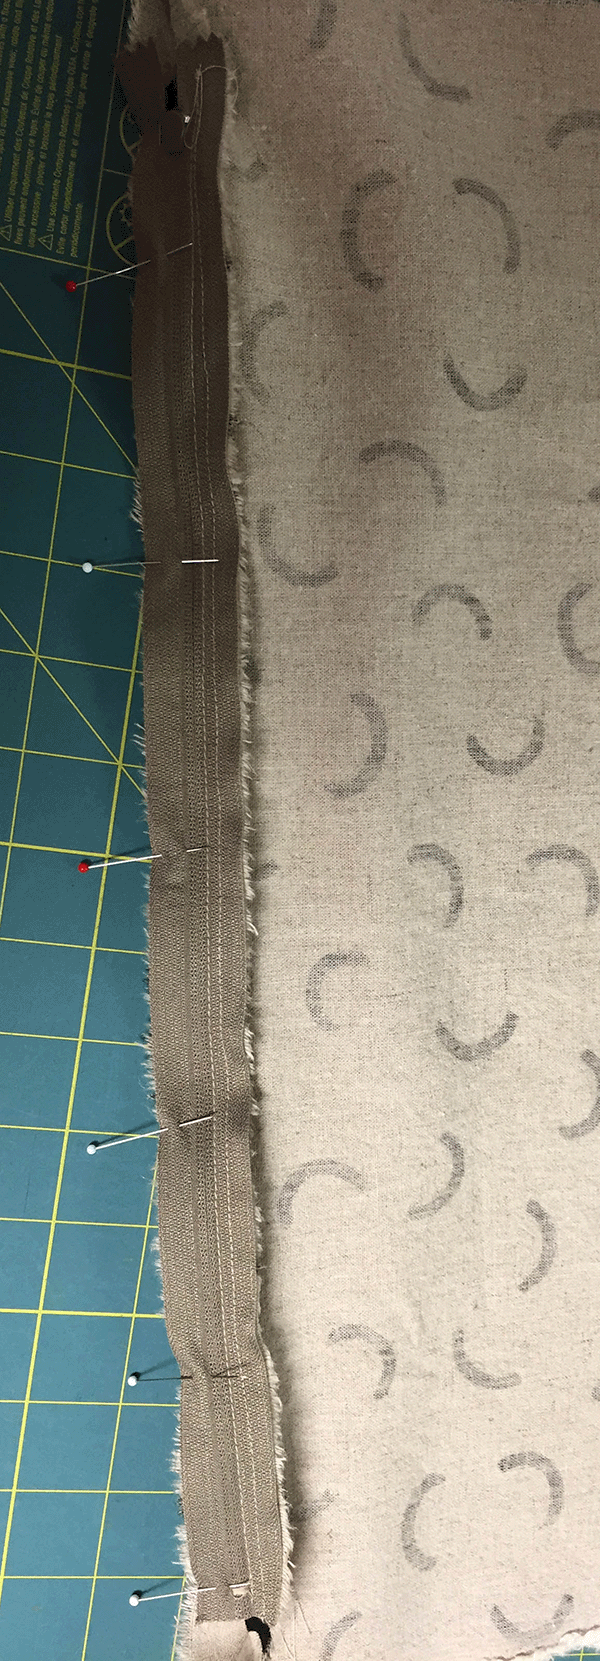
- Matching edges, pin loose side of zipper to top pillow piece.
- Un-pin the 2 pillow corners and sew the zipper tape to the fabric, with the needle as close as possible to the teeth of the zipper.
- With right sides together, pin the top pillow piece to the bottom pillow piece, matching edges. Unzip zipper at least half-way to allow for turning pillow when stitching is complete.
Complete Construction
- Begin stitching at one end of the zipper seam, and end at the other end of the zipper seam, overlapping the zipper seams with the new stitching by about ½ inch at each end. Stitch along the existing stitching that was used to attach the piping.
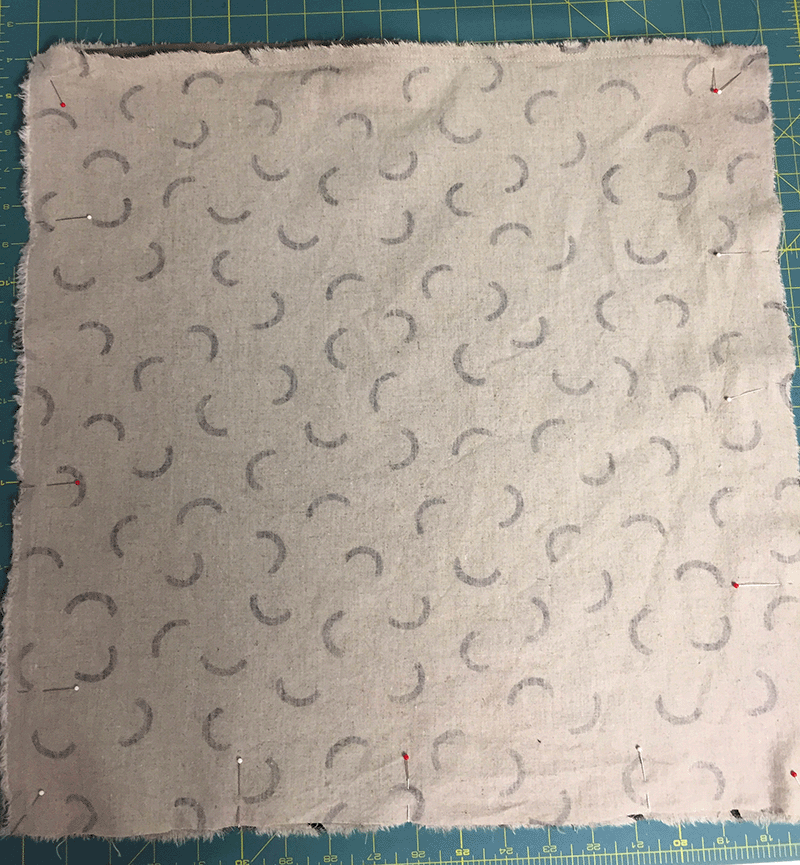
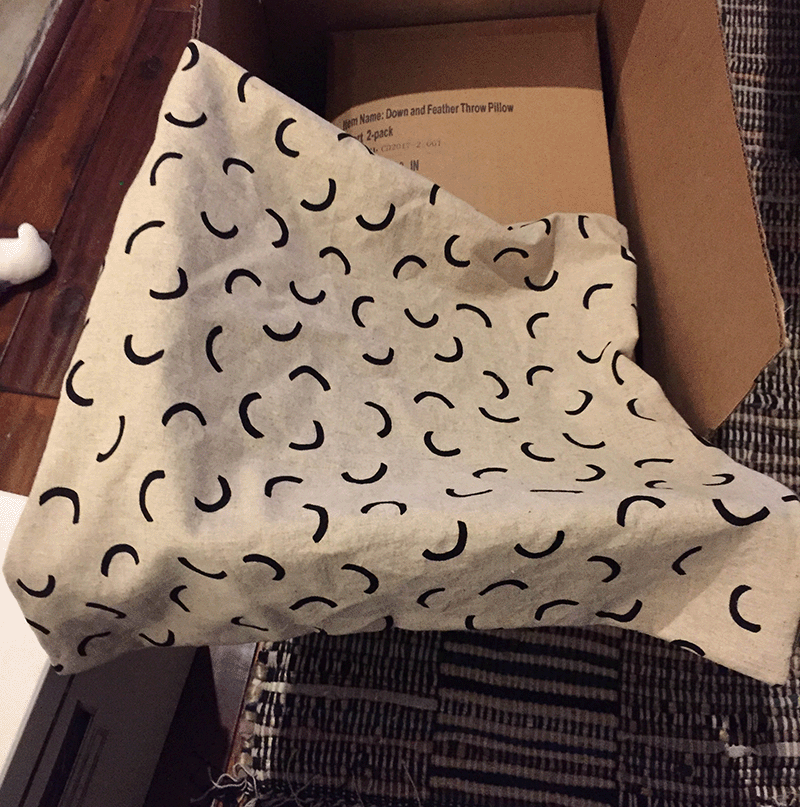
- Turn pillow to right side through open zipper.
- Insert pillow form into cover, and close zipper. Enjoy.
